Terms and Privacy •
Multiple Users & Permission roleYour team members must be invited to join the Taximail account so everyone can start working together. As an Account Administrator, you can invite users and assign the level of users. And can also change the level of users later or cancel the access if the user is not eligible to access your account. At the Users & Roles menu in your Taximail account. Will display user details including names, email addresss and user levels that have the right to access your Taximail account. Account Administrator can send a new invitation, see the invitation to proceed, change the user level, and canceled access at any time. In this article, you will learn about the differences of users and how to manage them. User levelYou can add users and assign 6 levels of access to Taximail features for each user.
Compare user level permissions
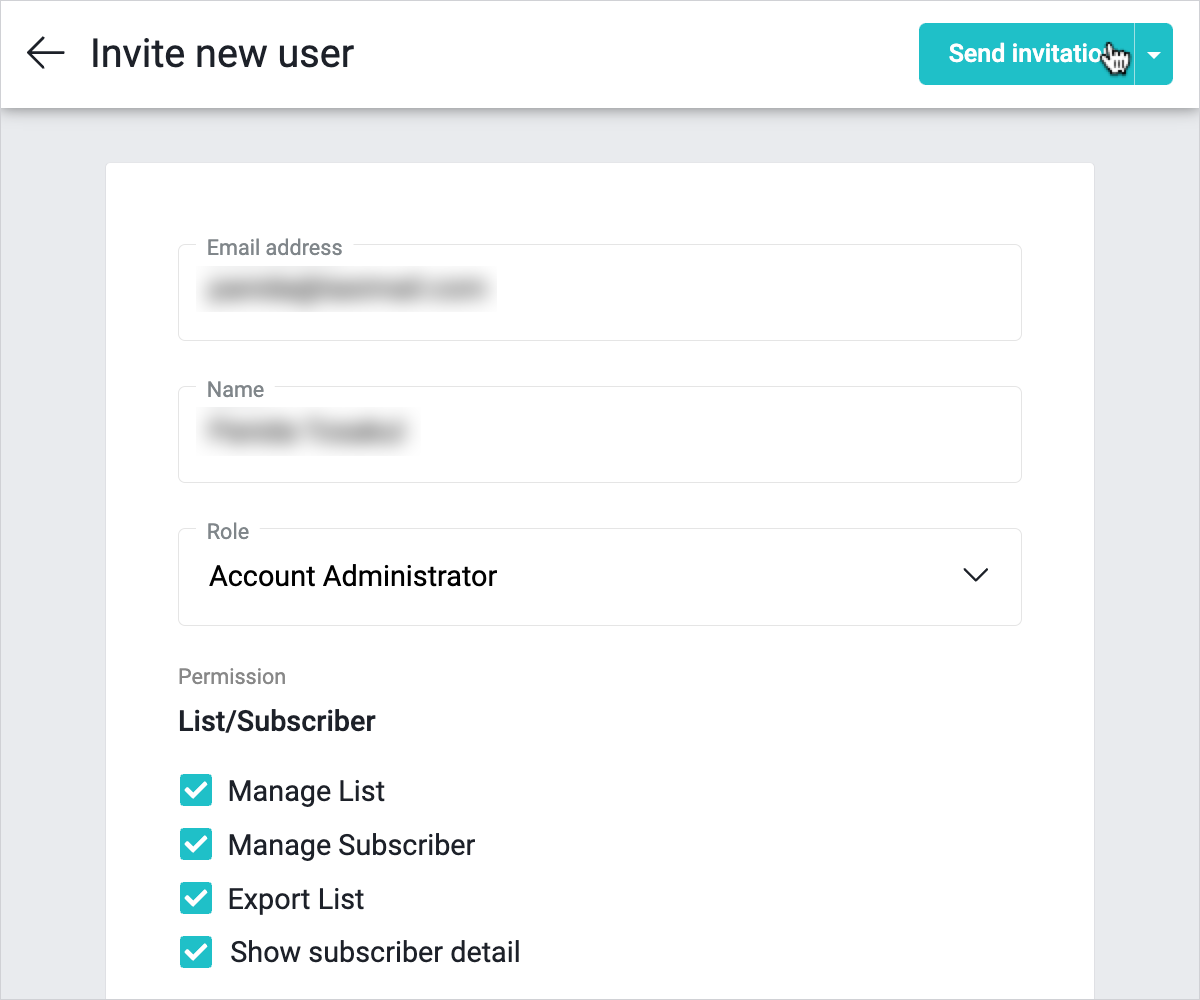
Invite a new user
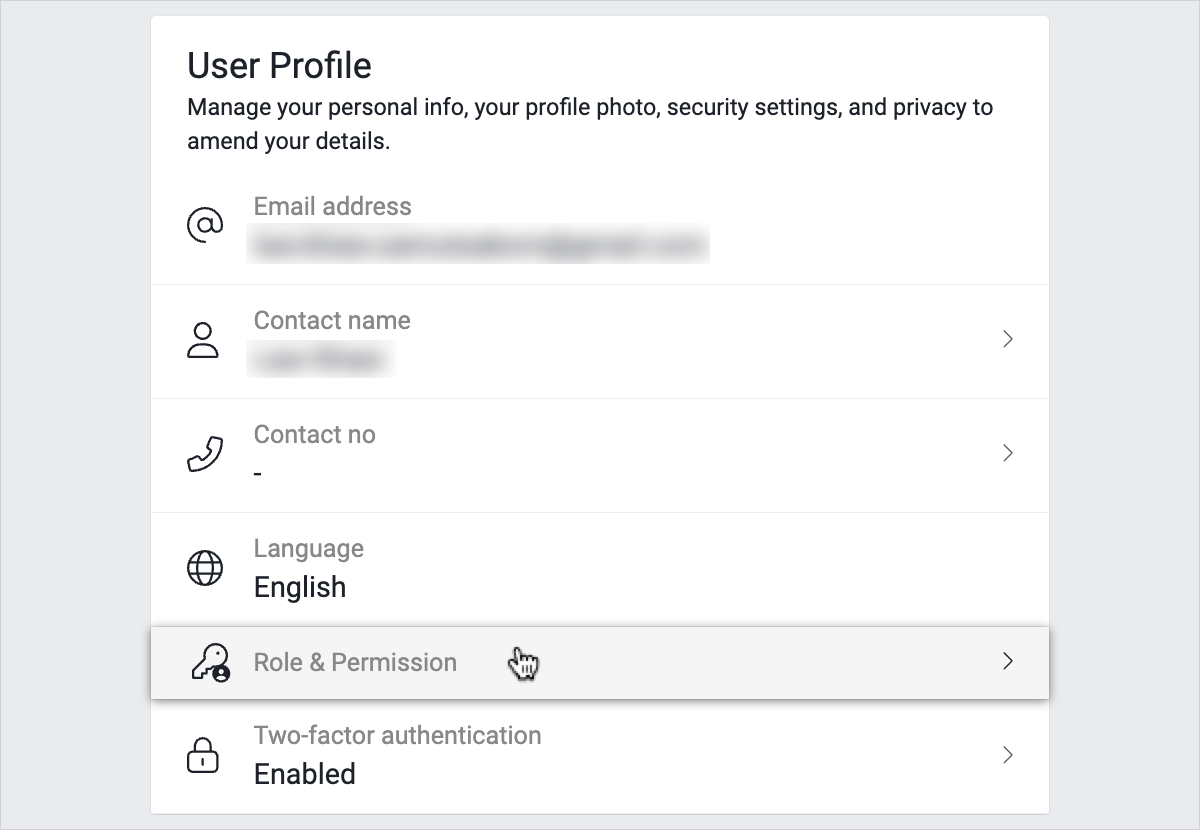
Change user level
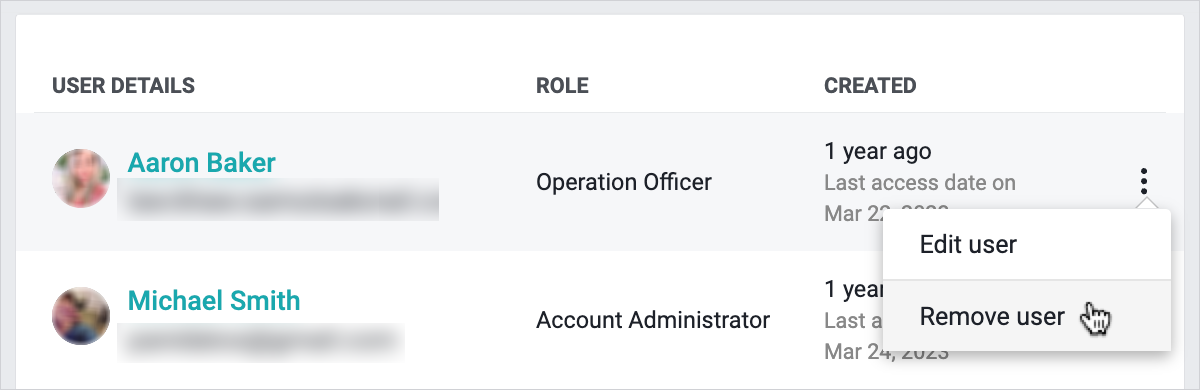
Delete userAccount Administrator can cancel the access to the Taximail account of other users at any time. But if the Account Administrator wants to cancel own access, it is necessary for other Account Administrator to proceed instead.
| |||||||||||||||||||||||||||||||||||||||||||||||||||||||||||||||||||||||||||||||||||||||||||||||||||||||||||||||||||||||||||||||||||||||||||||||||||||||||||||||||||||||||||||||||||||||||||||||||||||||||||||||||||||||||||||||||||||||||||||||||||||||||||||